


Monday, January 30, 2012

School Class
Addison's favorite time of the week is "school class" as she calls it. I'm so glad that she loves church so much!
Today I took my very first Zumba class. I'm proud to say I made it through the whole entire hour. THATS A MIRACLE!!! It was a lot of fun. I weigh in tomorrow and I'm very nervous. I haven't done great this week. I started fresh today though and I feel like its going to be a good week. I just have to get my nighttime snacking under control. I do so great during the day. At night the animal in my stomach gets very loud and wants me to feed it constantly. I just keep dreaming of Paris........
 - 7 Days 6 Nights")
Sunday, January 29, 2012


Saturday, January 28, 2012
January 28, 2012
Well I'm winding down. Getting ready to go to bed. I've got everyone's clothes ironed for church tomorrow and I just got out of the shower. I did pretty good with my meals today. I'm really trying to just take it one day at a time. I could have done better but I am WAY better than yesterday. I do so good for breakfast and lunch but evenings are my downfall. The blog is helping to occupy my time though. Tonight I felt hungry so I just grabbed some fruit instead of something horrible like chips or chocolate. This will be my third week on weight watchers. Oooo I hope I lose this week. Its been tough but I'm not giving up!!! I will lose at least 60 pounds by the time I leave for London in November. Ohhhhh, did I not mention that I"m going to London and Paris for Thanksgiving? Well thats another story for another day :) Gnite.......


So, I decided to cover it up, using this Jcrew cardigan as my inspiration:
 Here is what I did.
Here is what I did.
Step 1: I found some pre-made ruffle trim at the fabric store that perfectly matched my cardigan. I got about 1 1/2 yards but I didn't use it all. And obviously, you could use a contrasting color just as easily.
 Step 2: I folded the raw edge under and then folded it under again. Then, using a needle and thread, stitched the folds shut, basically sandwiching the raw edges inside. I figure this will prevent it from running if I need to wash it.
 So, this is what it looked like at the end of this step:
 Step 3: Put the ribbon/ruffles face down just below the shoulder seam. Using a needle and thread, tack the ribbon to the shoulder seam, just above the seam you just made in step 2. That way, when you fold the ribbon/ruffles back down, that seam you made in step 2 will be hidden underneath.
 Step 4: Using a needle and thread, tack the ribbon/ruffles to the front of the cardigan every inch or so. Line up the edge of the ribbon to the cardigan's neck line for about 1 1/2 inches, then bring the ribbon out toward the sleeve in an arc, so it ends up looking like a half circle. Make sure the arc ends up at the corner where the neckline meets the front buttons. Leaving yourself a little bit extra, so you can make a seam like in step 2, cut the excess off. Make the seam in step 2 on the new cut-off end, and then tack that seam to the edge of the center of the cardigan. It doesan't matter what it looks like, because you'll be covering it up.
 Step 5: Make another seam as in step 2 to the rest of your ribbon/ruffles. Lay the ribbon face down on top of the seam you just tacked on in step 4. Sew the ribbon to the cardigan just above the seam you just made, so all these seams are hidden beneath the ribbon once you flip it over.
 Step 2: I folded the raw edge under and then folded it under again. Then, using a needle and thread, stitched the folds shut, basically sandwiching the raw edges inside. I figure this will prevent it from running if I need to wash it.
 So, this is what it looked like at the end of this step:
 Step 3: Put the ribbon/ruffles face down just below the shoulder seam. Using a needle and thread, tack the ribbon to the shoulder seam, just above the seam you just made in step 2. That way, when you fold the ribbon/ruffles back down, that seam you made in step 2 will be hidden underneath.
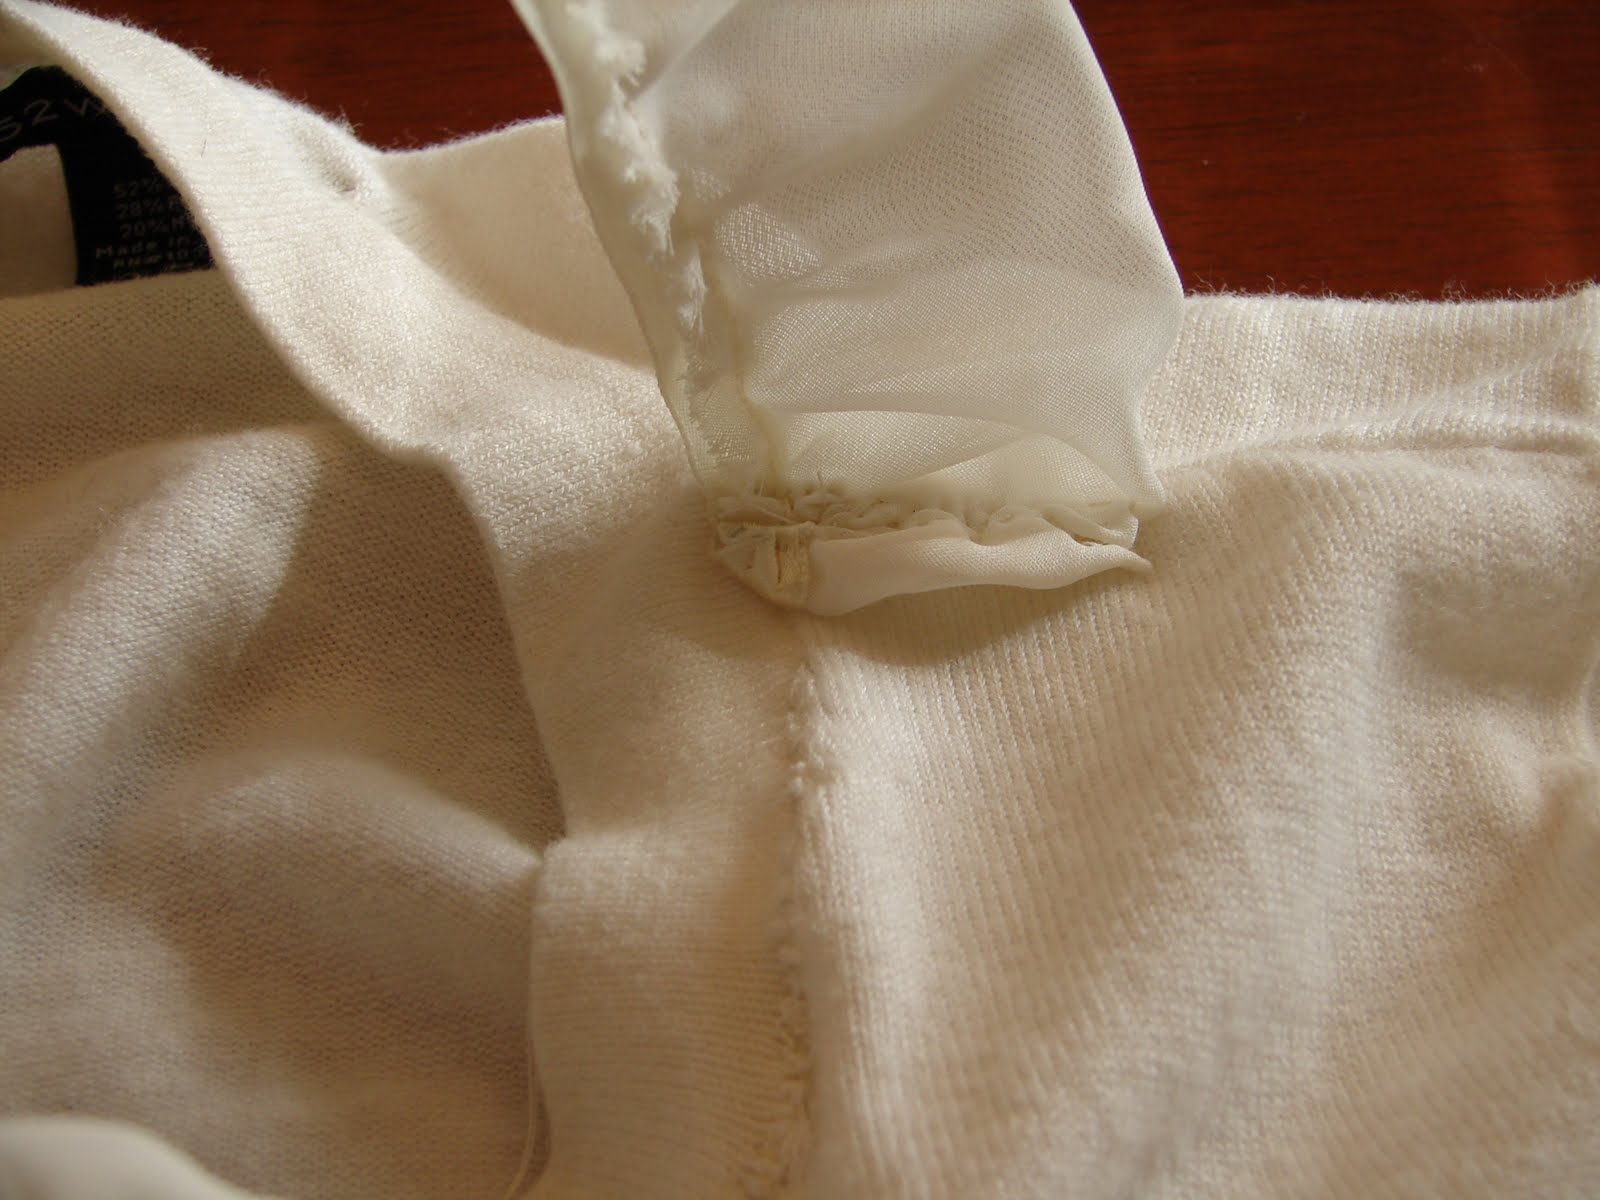 Step 4: Using a needle and thread, tack the ribbon/ruffles to the front of the cardigan every inch or so. Line up the edge of the ribbon to the cardigan's neck line for about 1 1/2 inches, then bring the ribbon out toward the sleeve in an arc, so it ends up looking like a half circle. Make sure the arc ends up at the corner where the neckline meets the front buttons. Leaving yourself a little bit extra, so you can make a seam like in step 2, cut the excess off. Make the seam in step 2 on the new cut-off end, and then tack that seam to the edge of the center of the cardigan. It doesan't matter what it looks like, because you'll be covering it up.
 Step 5: Make another seam as in step 2 to the rest of your ribbon/ruffles. Lay the ribbon face down on top of the seam you just tacked on in step 4. Sew the ribbon to the cardigan just above the seam you just made, so all these seams are hidden beneath the ribbon once you flip it over.
Step 6: Tack the ribbon every inch or so about 1/2 an inch above the arc of the layer below, so you can see the ruffles stick out beneath the layer you're now taking on. Instead of just completing a half circle, tack the ribbon all the way around this time.
 Step 7: Once you've made a circle, continue tacking it down in a spiral pattern, until you have barely any room left to tack. :)

 Step 8: Take the end of the ribbon/ruffles and stuff it inbetween the spots where you tacked it town until you've got the unfinished end of the ribbon underneath the bottom layer of the rosette you've made.
 Step 9: Play with it until you've created a pretty center for your rosette, then tack it down anywhere you feel you need to in order to cover up the ends or stitches you've made, etc.
 Step 10: Cut off the excess ribbon, leaving a little extra to repeat step 2 again and seal off the ends for the last time. Then, tack the end seam down underneath the bottom layer of ruffles, so it's hidden underneath.
 TaDa!
TaDa!
 You've got a pretty little cardi with a pretty little rosette on it.
 Obviously, if this were not a cropped cardigan, I could have done a few more layers underneath to make it hang lower, like the Jcrew one does, but I felt like that would be a little much for this mini-size cardigan of mine. Maybe I'll have to try it again and do that with a full-size cardi. :) Also, I realize it would be faster and easier to do this by just using a sewing machine, but I was worried about the cardigan being able to stretch, as that is where the hole came in the first place. Anyway, have fun! :)
 Step 7: Once you've made a circle, continue tacking it down in a spiral pattern, until you have barely any room left to tack. :)Step 8: Take the end of the ribbon/ruffles and stuff it inbetween the spots where you tacked it town until you've got the unfinished end of the ribbon underneath the bottom layer of the rosette you've made.
 Step 9: Play with it until you've created a pretty center for your rosette, then tack it down anywhere you feel you need to in order to cover up the ends or stitches you've made, etc.
 Step 10: Cut off the excess ribbon, leaving a little extra to repeat step 2 again and seal off the ends for the last time. Then, tack the end seam down underneath the bottom layer of ruffles, so it's hidden underneath.
 TaDa!You've got a pretty little cardi with a pretty little rosette on it.Obviously, if this were not a cropped cardigan, I could have done a few more layers underneath to make it hang lower, like the Jcrew one does, but I felt like that would be a little much for this mini-size cardigan of mine. Maybe I'll have to try it again and do that with a full-size cardi. :) Also, I realize it would be faster and easier to do this by just using a sewing machine, but I was worried about the cardigan being able to stretch, as that is where the hole came in the first place. Anyway, have fun! :)
Magnet Board CUTENESS!
I know you all have seen these cutie pies all around blog land. Yeah, I made some too! I was asked to do a thrifty project for enrichment this week and this is what I came up with.
2 bucks for a magnet board is a GREAT deal don't ya think? I bought all the stuff from dollar tree, just so you know.
Buy a cookie sheet, $1.00. A set of magnets, $1.00

Drill two holes on top of pan for ribbon.

Paint edges and sides with craft paint of your choice, you don't have to, I just tried it and really liked how it turned out.
Paint magnets if you don't like the color of them. I used craft paint again.

Cut some cute paper to fit in center of pan. Make sure paint is dry, then, Modge podge it on. Make sure you get out all the bubbles BEFORE it dries! I also went over all the painted parts with modge podge to seal the paint.

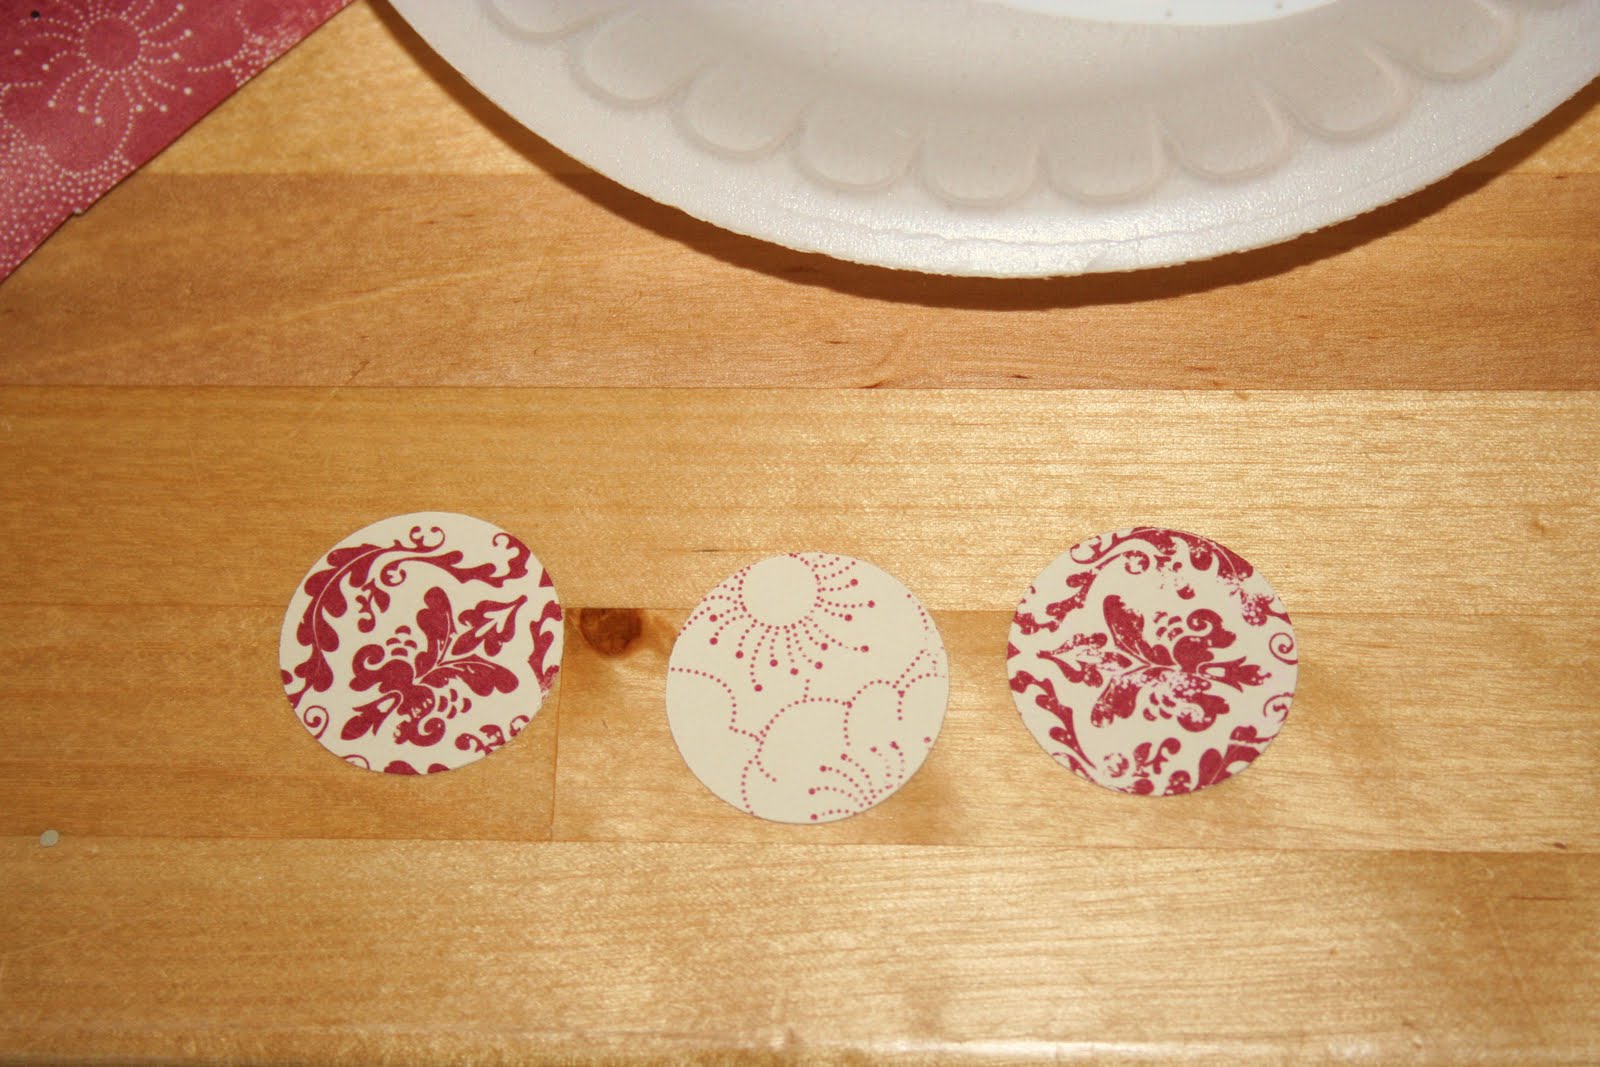
Cut one inch circles of coordinating paper to cover magnets. Modge Podge them on. Make sure you do a good coat over the whole top of the magnet to seal the paint again.


Add embellishments and ribbon.


You're done! ENJOY!


2 bucks for a magnet board is a GREAT deal don't ya think? I bought all the stuff from dollar tree, just so you know.
Buy a cookie sheet, $1.00. A set of magnets, $1.00

Drill two holes on top of pan for ribbon.

Paint edges and sides with craft paint of your choice, you don't have to, I just tried it and really liked how it turned out.

Paint magnets if you don't like the color of them. I used craft paint again.

Cut some cute paper to fit in center of pan. Make sure paint is dry, then, Modge podge it on. Make sure you get out all the bubbles BEFORE it dries! I also went over all the painted parts with modge podge to seal the paint.

Cut one inch circles of coordinating paper to cover magnets. Modge Podge them on. Make sure you do a good coat over the whole top of the magnet to seal the paint again.

Add embellishments and ribbon.


You're done! ENJOY!

You might also like:


Sweet potatoes and kale, served with salmon (this version without dried fruit)
I changed this up in another way from the recipe I previously posted on facebook. Since this batch accompanied a delicately seasoned crabmeat-stuffed salmon (purchased prepared at the seafood counter), I omitted the 2 cloves of garlic and replaced it with a bit of dried cherries and cranberries. That does add more carbs to this dish; my sweet tooth seems to be getting the better of me lately! However, the sweetness blends well with the kale, and complements the salmon and crabmeat stuffing.
I promise to post a non-orange vegetable without dried fruit in the near future!
Ingredients
- 2 sweet potatoes, peeled and cut into ~3/4-inch dice
- Bunch of kale, stems removed, coarsely chopped
- butter/bacon fat/coconut oil (or your fat of choice)
- 2 T dried cherries and/or cranberries
- salt and pepper
- balsamic vinegar
In the meantime, heat ~2-3 T of butter/bacon fat in a frying pan over medium high heat. Start adding handfuls of kale and toss in pan until wilted. Keep adding kale until you have the amount you’d like, cooking until wilted and to desired tenderness. Add the dried fruit and a dash of balsamic vinegar and mix well.
Add the sweet potatoes to the kale and toss until heated throughout and well mixed. Adjust seasoning and serve!


Yummy potatos

This is the time of year when 10 pound bags of russet potatoes go on sale for super cheap prices.
I love it when the price is under $1.00! I just can’t resist buying a bag…and sometimes two bags when I know I can use them.
To keep them fresh, I store them in the refrigerator….in one of the vegetable drawers.
They come in so handy for dinners when I need to come up with a quick side dish to go along with meat and veggies.
Here’s a super quick and easy way to whip up a side dish using potatoes that’s made with herbs and spices right out of the pantry.
These baked herb and parmesan potato slices go great with any type of meat.
The thinner cut slices get crispy when they’re baked and are soooo delicious right out of the oven!
Here are the ingredients:

Potatoes, herbs, spices and olive oil……

…..and grated parmesan cheese.
Baked Herb and Parmesan Potato Slices
Serves 3
Serves 3
2 whole russet potatoes (medium size)
2 whole large red potatoes
¼ teaspoon onion powder
¼ teaspoon salt
¼ teaspoon garlic powder
¼ teaspoon dried oregano
¼ teaspoon dried thyme
¼ teaspoon pepper
¼ teaspoon dried parsley
¼ teaspoon dried rosemary
2 tablespoons olive oil
1 tablespoon grated parmesan cheese
2 whole large red potatoes
¼ teaspoon onion powder
¼ teaspoon salt
¼ teaspoon garlic powder
¼ teaspoon dried oregano
¼ teaspoon dried thyme
¼ teaspoon pepper
¼ teaspoon dried parsley
¼ teaspoon dried rosemary
2 tablespoons olive oil
1 tablespoon grated parmesan cheese
DIRECTIONS:
Preheat oven to 375 degrees F.
Rinse the potatoes and dry them off with a paper towel.

Slice the potatoes at a slight diagonal.

Try to keep the slices at a similar width (about a ½ inch) so they cook evenly.

Add the potato slices to a large bowl.

Next add the herbs and spices.

Then add the olive oil.

Mix all of the ingredients together so the olive oil, herbs, and spices evenly coat both sides of the sliced potatoes.

Lay the potatoes on to a cookie sheet.
Try to lay the potatoes as flat as possible on to the cookie sheet rather than stacking the potatoes on top of one another.

Next sprinkle more of the herbs and spices over the potatoes if you have extra. Then top the potatoes with the grated parmesan cheese.

You can add more parmesan cheese if you like.

Bake in a preheated oven for about 20 minutes or until the thinnest pieces are a golden color.

Serve warm right out of the oven as a side dish.

The crispy ones are especially tasty!

I accidently eat the crispy ones before they ever make it to the plate.

Enjoy!

JUST THE RECIPE:
From the Kitchen of CouponClippingCook at couponclippingcook.com.
Baked Herb and Parmesan Potato Slices
Serves 3
Serves 3
2 whole russet potatoes (medium size)
2 whole large red potatoes
¼ teaspoon onion powder
¼ teaspoon salt
¼ teaspoon garlic powder
¼ teaspoon dried oregano
¼ teaspoon dried thyme
¼ teaspoon pepper
¼ teaspoon dried parsley
¼ teaspoon dried rosemary
2 tablespoons olive oil
1 tablespoon grated parmesan cheese
2 whole large red potatoes
¼ teaspoon onion powder
¼ teaspoon salt
¼ teaspoon garlic powder
¼ teaspoon dried oregano
¼ teaspoon dried thyme
¼ teaspoon pepper
¼ teaspoon dried parsley
¼ teaspoon dried rosemary
2 tablespoons olive oil
1 tablespoon grated parmesan cheese
DIRECTIONS:
Preheat oven to 375 degrees F.
Rinse the potatoes and dry them off with a paper towel.
Slice the potatoes at a slight diagonal.
Try to keep the slices at a similar width (about a ½ inch) so they cook evenly.
Add the potato slices to a large bowl.
Next add the herbs and spices.
Then add the olive oil.
Mix all of the ingredients together so the olive oil and herbs evenly coat both sides of the sliced potatoes.
Lay the potatoes on to a cookie sheet.
Try to lay the potatoes as flat as possible on to the cookie sheet rather than stacking the potatoes on top of one another.
Bake in a preheated oven for about 20 minutes or until the thinnest pieces are a golden color.
Serve warm right out of the oven as a side dish.
Subscribe to:
Posts (Atom)